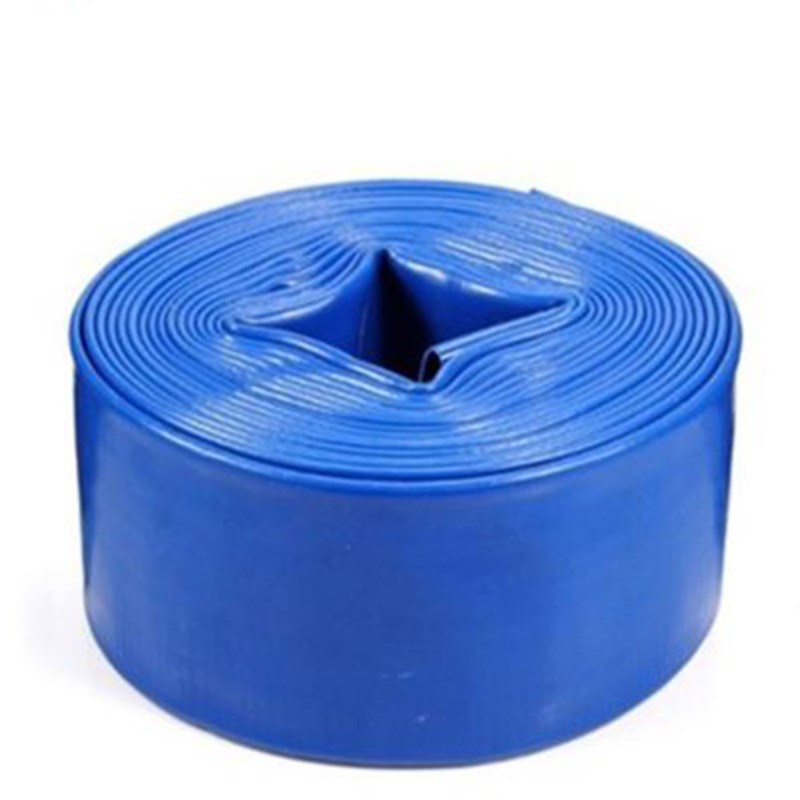
Drip irrigation tubes play a significant role in water conservation in agriculture through several mechanisms that optimize water use:
- Precise Water Delivery: Drip irrigation tubes deliver water directly to the root zone of plants in controlled amounts. This targeted application ensures that plants receive the necessary moisture without excess, minimizing water wastage through runoff or evaporation.
- Reduced Evaporation Loss: Unlike traditional overhead sprinklers, drip irrigation tubes deliver water at or near ground level, minimizing exposure to sunlight and wind. This significantly reduces evaporation losses, preserving more water for plant uptake.
- Minimized Surface Runoff: The slow, controlled release of water by drip irrigation tubes prevents surface runoff, allowing the soil to absorb moisture gradually. This prevents loss of water due to runoff, especially on sloped or uneven terrain.
- Localized Application: Drip irrigation systems apply water only to the immediate root zone of plants, avoiding unnecessary wetting of non-crop areas. This focused irrigation reduces water usage compared to methods that wet entire fields or areas.
- Reduced Soil Erosion: By delivering water slowly and evenly, drip irrigation tubes help maintain soil structure and stability. This minimizes soil erosion caused by heavy watering or surface runoff, conserving both water and soil.
- Tailored Irrigation Schedules: Drip irrigation tubes allow for precise control over the timing and duration of watering, enabling farmers to adjust irrigation schedules to match specific crop water needs at different growth stages.
- Optimized Nutrient Delivery: Drip irrigation systems can efficiently deliver nutrients or fertilizers directly to the root zone along with water. This targeted delivery reduces nutrient leaching and ensures plants receive essential nutrients, maximizing their uptake efficiency.
- Adaptation to Irrigation Challenges: Drip irrigation tubes can be adapted to challenging environments such as arid regions or areas with limited water resources. They allow farmers to utilize available water more efficiently, making agriculture more sustainable in water-scarce areas.
- Better Plant Health and Yield: Providing plants with consistent and adequate moisture levels through drip irrigation contributes to healthier plants, improving their resistance to stress and potentially enhancing crop yields.
By facilitating precise water application, minimizing wastage, and promoting efficient nutrient delivery,drip irrigation tube drip irrigation tubes significantly contribute to water conservation in agriculture, making irrigation practices more sustainable and environmentally friendly.
How are drip irrigation tubes installed in agricultural fields or gardens?
The installation of drip irrigation tubes in agricultural fields or gardens involves several steps to ensure proper setup and functionality:
- Planning and Design: Assess the field or garden layout, crop types, soil conditions, and water source availability. Plan the irrigation system layout, considering the tubing placement, emitter spacing, and water distribution requirements.
- Prepare the Area: Clear the field or garden of debris, rocks, and any obstacles that might interfere with the tubing installation.
- Lay Out the Mainline: Install the mainline tubing, which carries water from the water source (such as a pump or faucet) to the areas to be irrigated. The mainline is typically larger in diameter and acts as the primary distribution line.
- Position the Drip Irrigation Tubes: Lay the drip irrigation tubes along the rows or around individual plants. Secure the tubing using stakes, clips, or anchors to keep them in place and prevent movement.
- Connect the Tubing: Use appropriate connectors, fittings, or adapters to join sections of tubing, create junctions, or connect the mainline to the drip irrigation tubes. Ensure tight and secure connections to prevent leaks.
- Install Emitters or Drippers: Attach the emitters or drippers to the drip irrigation tubes at designated intervals. These emitters regulate the water flow and distribute water to the plants. Ensure consistent spacing based on the irrigation plan.
- Flush the System: Before starting regular operation, flush the system to remove any debris or dirt that might have entered the tubing during installation.
- Pressure Test and Adjustments: Test the system for proper water flow and pressure. Make necessary adjustments to the tubing layout, emitter positions, or fittings to ensure even water distribution across the entire area.
- Cover or Mulch: Optionally, cover the drip irrigation tubes with mulch or cover crops to protect them from sunlight, minimize evaporation, and improve water retention in the soil.
- Regular Maintenance: Regularly inspect the system for leaks, clogs, or damaged tubing. Perform maintenance tasks such as flushing, cleaning filters, and replacing worn-out components as needed.
Proper installation is crucial for the effectiveness and efficiency of drip irrigation systems. Careful planning, accurate placement of tubing, and precise installation of components ensure that water is distributed uniformly to the plants, maximizing their growth and minimizing water wastage.
